A Step-by-Step Tube Installation Guide for Beginners
Are you a biking enthusiast who has always struggled with installing a bike tube? Fear not, because, in this comprehensive guide, we will take you through the process of tube installation step-by-step. Whether you’re a beginner or an aspiring professional, this informative article will equip you with the skills to tackle tube installation with ease. So, let’s dive in and discover how to install your bike tube like a pro!
These steps will walk you through the process of fixing a rear flat tube. With a front tube and tires, the steps are identical but a little bit easier because the chain and gears are not involved in the wheel removal process.
Step 1: Gather Your Tools
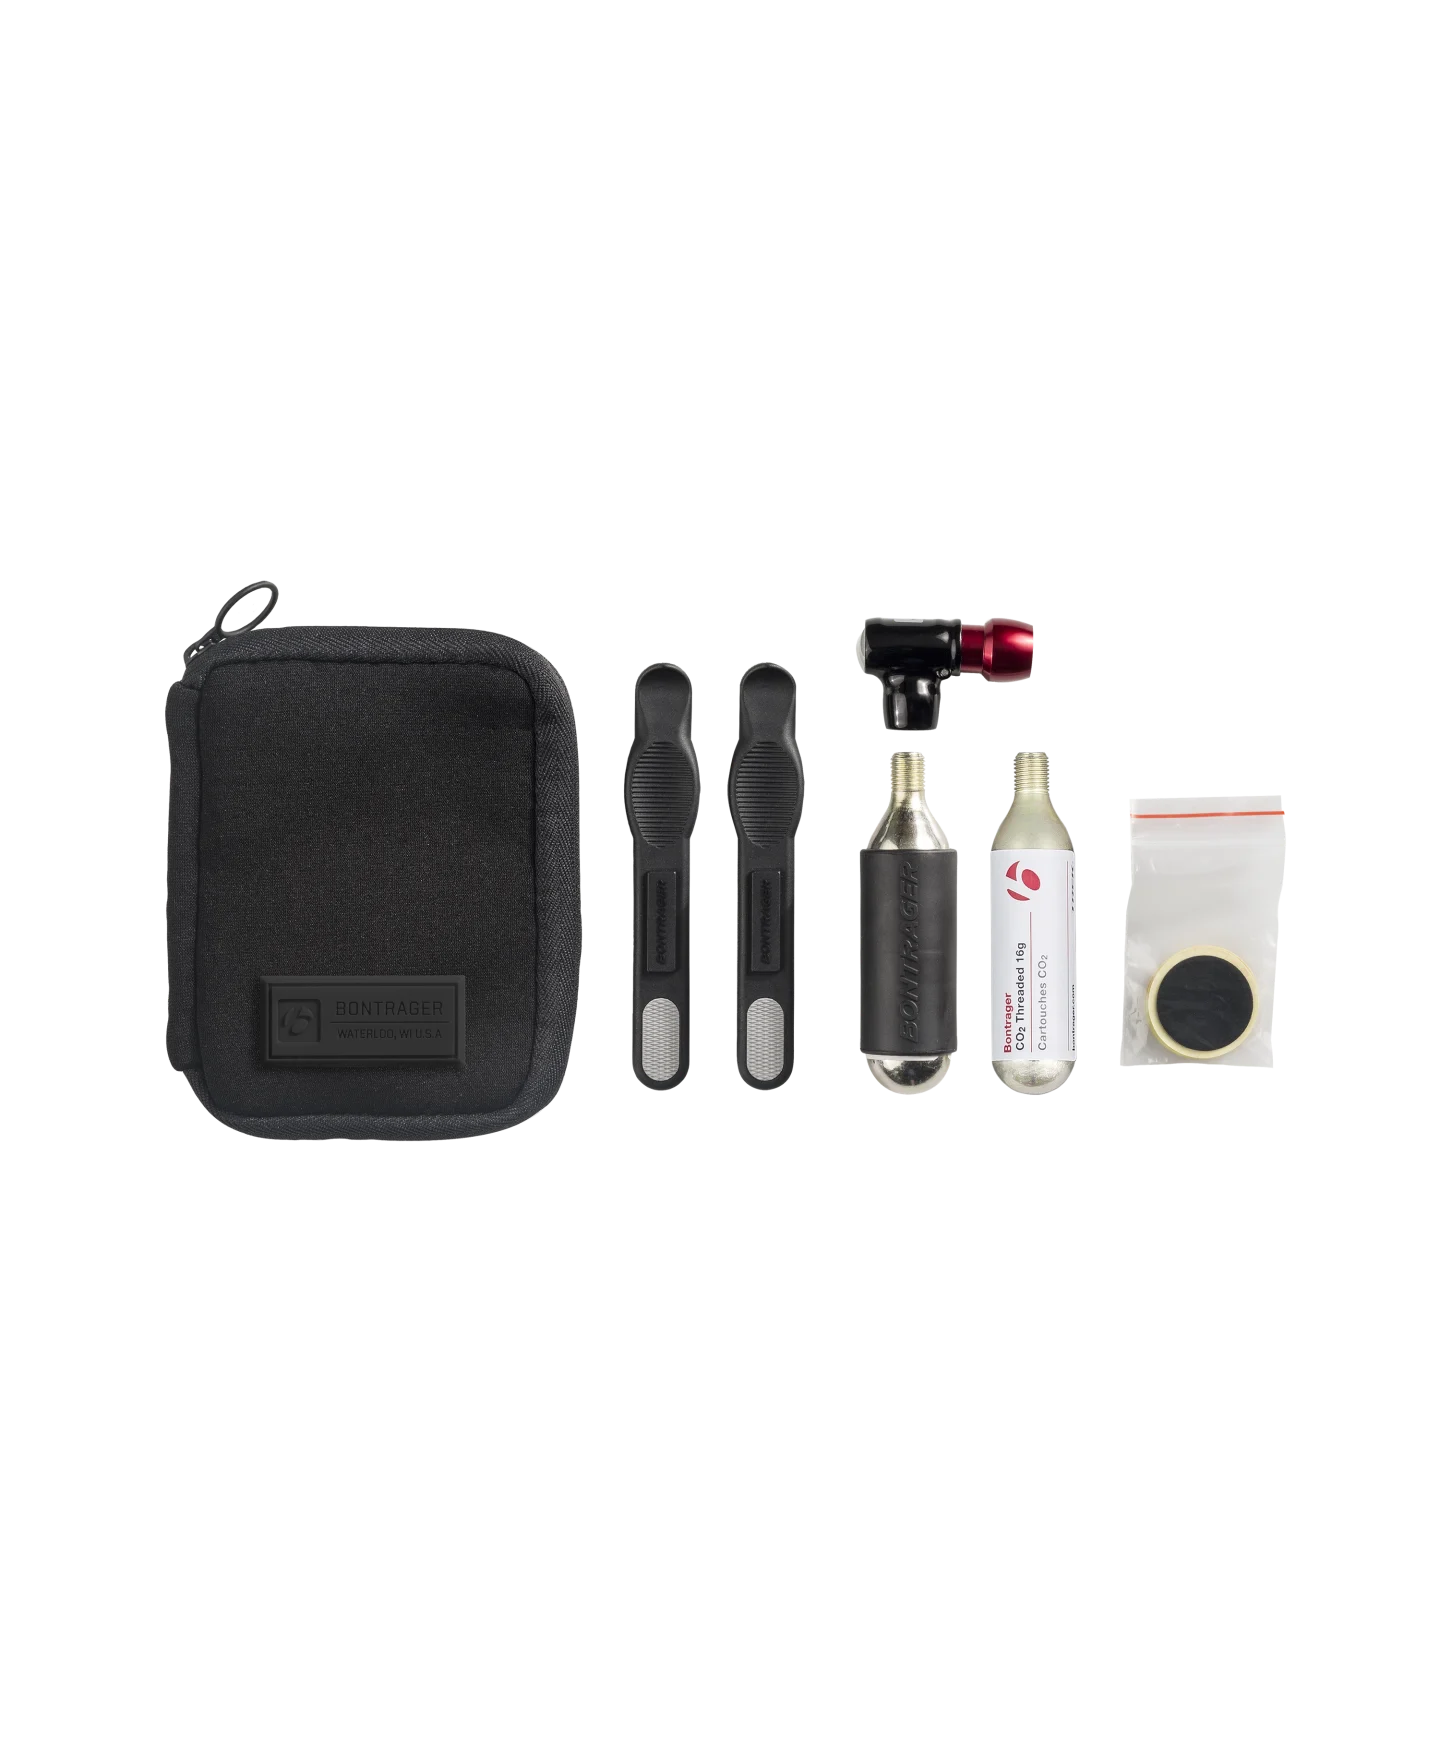
Make sure you have all the necessary repair tools on hand before starting the tube installation process. It is crucial to have these tools for a successful tube installation and to ensure your bike runs smoothly.
You'll need:-
Bike Tube: Ensure you have the right size tube for your tire.Learn more about bike tube types
Tire Levers: These help you remove the tire from the rim. Learn more about bike tire types.
Pump: A pump to inflate the tube once it’s installed. Learn more about bike pump types.
Bike Bag: You’ll also need a bike bag to carry all the tools with you.

Step 2: Prepare your bike
Begin by placing your bike on a stable surface. If you have a bike stand, this is the perfect time to use it.
Step 3:
To release the brakes if your bike has calipers (rim) brakes, pull on the side lever. In case your brakes are v-shaped, press all sides inwards to release the brake cable’s tension and remove it. You can skip this step if you have disc brakes.
Step 4:
Unlock the quick release while standing on your bike’s non-chain side. With one hand, pull the wheel down while using the other to raise the bike. When you pull the wheel away from the tire, it should fall off easily.
In case the bike contains thru-axles, you are going to take off the axle until you can remove the entire axle from the frame safety. After that, removing the wheel is simple.
Step 5:
To pull the tube off, gently put your tire levers between the tire and the rim. Work slowly around the rim until one side of the tire is no longer attached to the rim.
Once one side of the tire has been removed, carefully pull the tube out of the tire and remove the tire from the rim.
Step 6:
Check the inside of the tire surface before replacing the tube. Gently run your fingers inside the tire, feel for anything sharp, and visually inspect the outside of the tire for anything still stuck in the rubber. Remove anything that could cause another flat immediately.
Step 7:
Take the new tube and inflate it until it takes on a slight form. It will fit into the wheel more easily as a result of this.
Step 8:
Using both thumbs, start at the valve stem and press the tire’s edge back into the rim. Use your thumbs to push as much of the tire under as you can; if not, it will get harder to get it completely under. If the tire is extremely tight, gently press the remaining tire back into the rim using the tire lever’s rounded end.
Step 9: Installing the New Tube
- Start by gently inflating your new tube. This keeps it from getting caught between the tire and the rim during installation.
- Insert the tube’s valve into the valve hole on the rim.
- Insert the tube into the tire with care, making sure it’s evenly spread out and free of twists.
- Begin by fitting one side of the tire back onto the rim. Work your way around the rim, pushing the tire into place.
- Avoid pinching the tube between the tire and the rim.
Step 10: Reattaching the Wheel
- Carefully slide the wheel back into the dropouts of your bike frame.
- Ensure that the chain is properly threaded through the derailleur.
- Tighten the quick-release skewer and make sure the wheel is secure.
- If your axles are thru-axles, put the axle between the hub and frame, tighten the lever, and thread it in.
Step 11: Final Checks
- Spin the wheel to ensure it rotates smoothly without any wobbling.
- Check for any visible bulges in the tire, which might indicate that the tube is not correctly installed.
Step 12: Go for a Test Ride
Now that your tube is successfully installed, take your bike for a short test ride to ensure everything is running smoothly. Keep an eye out for any signs of air leakage or unusual tire behavior that may require adjustments.
To make it easier to control, ensure that all air has been released from the damaged tube.
Congratulations! You’ve successfully learned how to install a bike tube step-by-step. By following this guide, even beginners can tackle this seemingly intricate task with ease. Remember, practice makes perfect, so don’t be discouraged if it takes a couple of attempts before you master the art of tube installation. So go ahead and enjoy a hassle-free biking experience by confidently installing your bike tube like a pro.


