To avoid any problems while riding, it’s essential to quickly inspect your bike before you go. Cyclists frequently use the “M” method to keep things straightforward and simple to remember. This approach uses the shape of the letter “M” to guide you through five key inspection points. You begin at the rear wheel, move up to the seatpost, drop down to the pedals, then up to the handlebars, and finally check the front wheel. For a full walk-through, follow step-by-step video and the detailed instructions below to make sure your bike is ready to roll.
Step-by-Step Pre-Ride Checklist for Road Bike
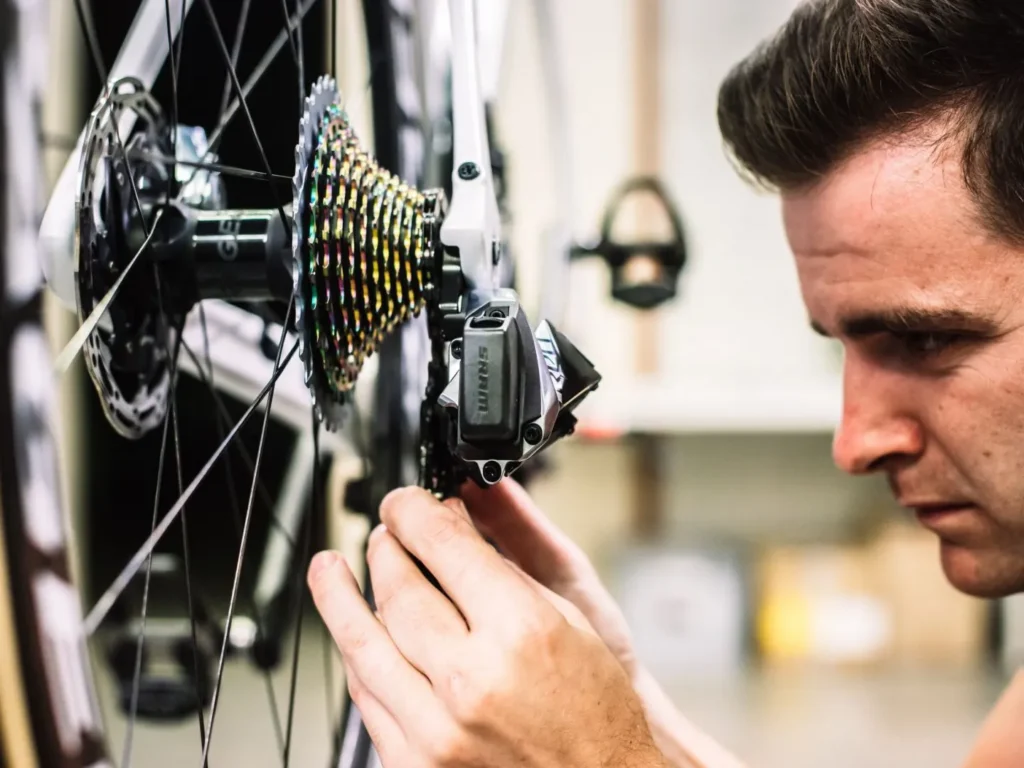
“M” Point #1: Rear Wheel
The first checkpoint in the “M” method starts with the rear wheel.
Tire pressure plays a major role in how your bike rides and handles, so it’s important to check it before every ride. Inflate your tires within the recommended range for optimal performance.
You’ll find the maximum pressure (listed in PSI) printed on the tire’s sidewall. But remember, this number reflects the highest pressure allowed, not necessarily the ideal pressure for your ride. In fact, most cyclists are better off riding with a PSI below that maximum. Your ideal pressure depends on a few things: your weight, the terrain you’re riding on, and the type of ride you’re going for.
It might seem logical to assume that more pressure equals more speed but that’s not always true. Depending on your setup and road conditions, riding with lower pressure could actually be faster and a lot more comfortable. Finding the perfect PSI might take a little experimentation. If you’re using Bontrager tires, you can check out the recommended pressure ranges here. In general, heavier riders should begin somewhere in the middle of that range, while lighter and medium-weight riders should strive for the lower end.
“M” Point #2: Seatpost and Saddle
The “M” should then be followed up to the saddle and seatpost.
To check the stability of the saddle, gently twist it from side to side. This enables you to verify that the saddle and seatpost are securely fastened in place by the seatpost clamp.
After that, with your bike resting on the ground, lift the rear end just a little about ankle height and let it drop. Pay close attention to the sound. If you hear any rattling or strange noises, it could be a sign that something is loose or possibly worn. In that case, it’s a good idea to take your bike to your local retailer for a professional inspection or service.
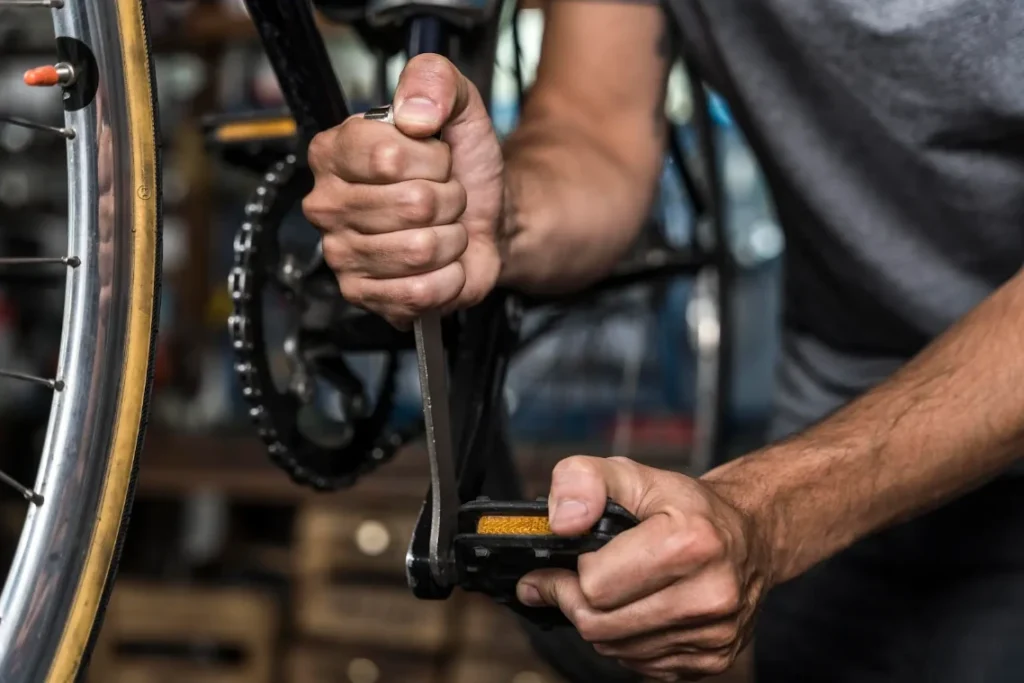
“M” Point #3: Crankset and Pedals
Now descend to the center of the bike, where the pedals and crankset are located.
Start by spinning both pedals. Listen for any strange noises, such as creaking. These minor sounds may serve as early warning signs that something is amiss.
Next, grab each pedal and gently push it side-to-side. You’re looking for any looseness or “play” in the pedal or crank area; everything should feel snug and solid.
Then, turn the crank backwards and listen closely. If you hear squeaks or creaks, it could be your chain crying out for some lube. That kind of noise is usually a quick fix. But if the sounds seem to be coming from the shifting system instead, it’s better to have a professional take a look just to be safe.
“M” point #4
Move from the cranks up to the handlebars.
With your bike on the ground, drop the front of the bike from about ankle height. Listen for any rattles or other odd noises, just like you did for the rear part of your bike.
Be sure to twist the area to ensure the stem and handlebar are tight see the video for a demonstration.
Then, give the brakes a squeeze to make sure they engage without pulling the lever all the way back to the handlebar
“M” point #5
The final point of the “M” is the front wheel. You’ll essentially repeat the same process you used for the rear wheel.
Just like you did for your rear tire in “M” point #1, you’ll want to check the pressure of your front tire. Follow the same guidelines on tire pressure and range, and take the same steps to inflate your front tire if your pressure is low.
Spin your front wheel to make sure it spins freely through the brakes without rubbing. If they rub, and you’ve checked to make sure the wheel is seated correctly, you may need to adjust your brakes.
And, again, take this opportunity to make sure your quick-release lever or thru-axle is tightened properly.
In conclusion
Before you leave for your trip, make sure your water bottles are full, your bike lights are securely fastened and charged, and your jersey pockets are filled with all the essentials and snacks you’ll need for the trip.
Remember, the secret to keeping your bike in top condition is Routine maintenance. For regular checkups, visit a wheel shop in your area. They will help you keep your parts running smoothly and identify any small issues before they become more serious.
Need a full check-up for your bike? Book an appointment at our specialized shop now